Wednesday, November 27, 2013

Why you shouldn’t leave your kids unattended…

Answer: they might swallow an entire lollipop. Stick and everything. Even at the age of 6.

IMG_5331

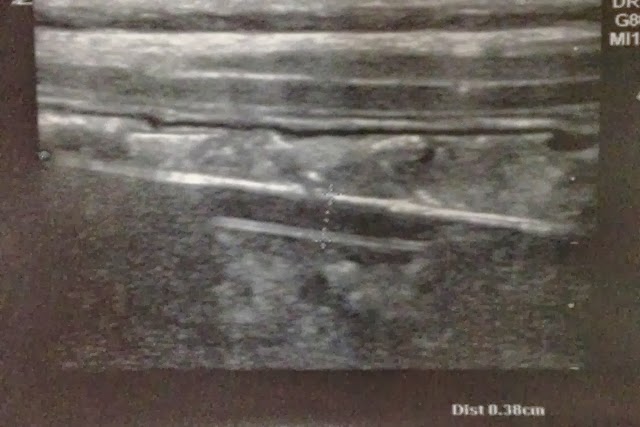
We went to see our doctor and he confirmed what my eldest said: there is a lollipop in his stomach. Aprox. 7,5 cm long and 0,38 cm thick.

We were sent to the pediatric clinic were the removed the lollipop by gastroscopy.

Our big boy was so brave. He didn’t cry once (well except when he told me he had swallowed the lollipop and he didn’t want someone to cut up his belly.)

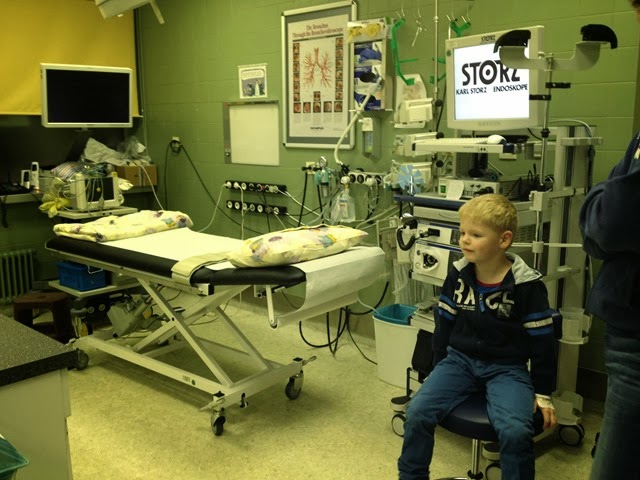
Here he is, waiting for his anesthesia:

IMG_5302

We had to stay one night:

IMG_5308

When he woke up from his anesthesia he said “Mom, this is not only cool, this is exciting, too”. Smiling from ear to ear. I am glad his first hospital experience wasn’t too bad.

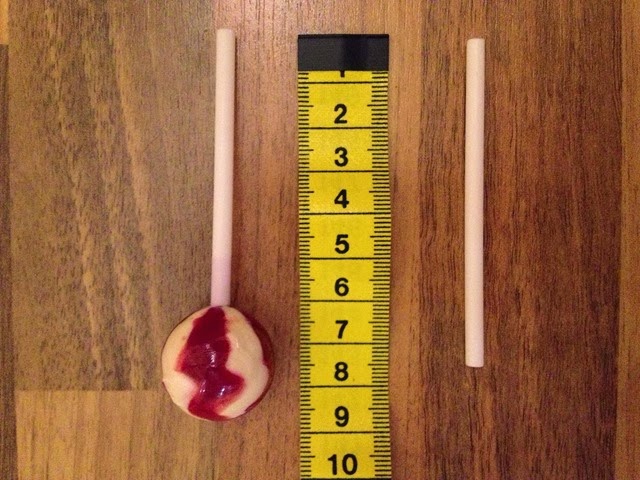
He was allowed to take the lollipop stick home, so here’s the culprit before and after a visit to this stomach:

IMG_5374

So, keep an eye (even on your elder) kids!
Christine

Friday, November 22, 2013

Upcycling denim into bags for boys

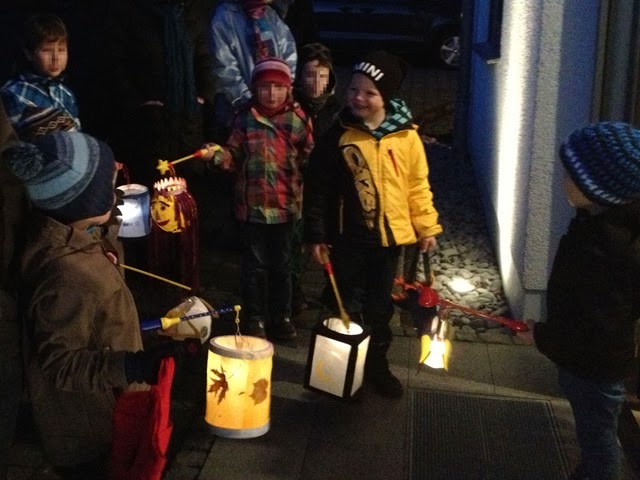
While in many anglophone countries kids go trick or treating on All Hallow’s Eve, in Germany the kids take lanterns on St Martin’s day and walk around the neighborhood, stopping at every door and singing songs. They are usually rewarded with candy.

I decided to make two new little bags for them to collect candy.

I browsed the internet and found this awesome tutorial. It was easy to follow and I finished the bag in two evenings. The only thing I changed is that I used a pair of old denim jeans instead of fleece.

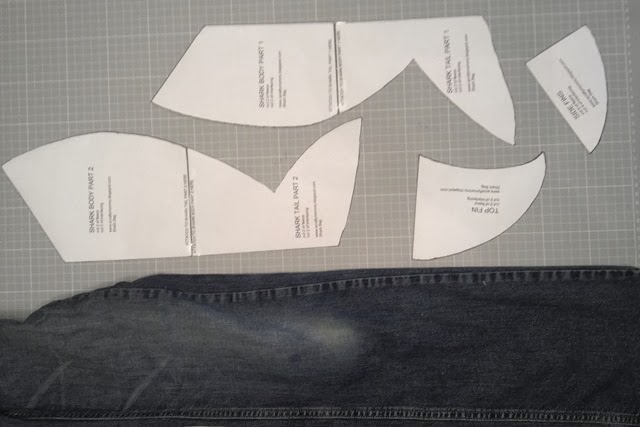
Shark bag cutting

It would have been easier if the legs had been wider but with some squeezing and twisting I managed to make do.

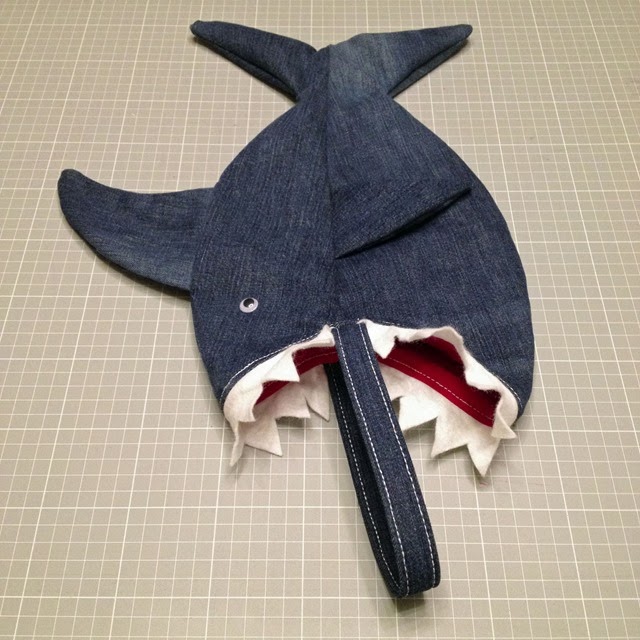
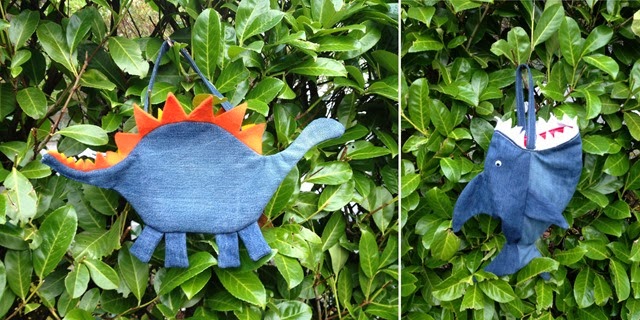
Shark bag

I showed the shark bag to my sons and my youngest adopted him at once. I told my eldest that I’d make him another one. But he asked for a dinosaur bag. Duh. No online tutorial available ): So I had to come up with something myself.

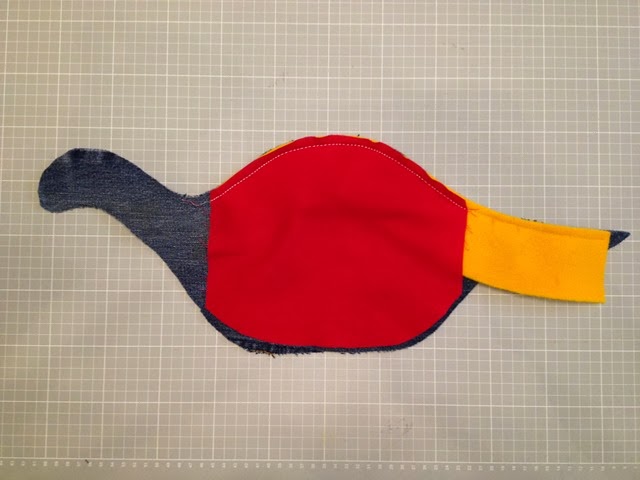
IMG_5098

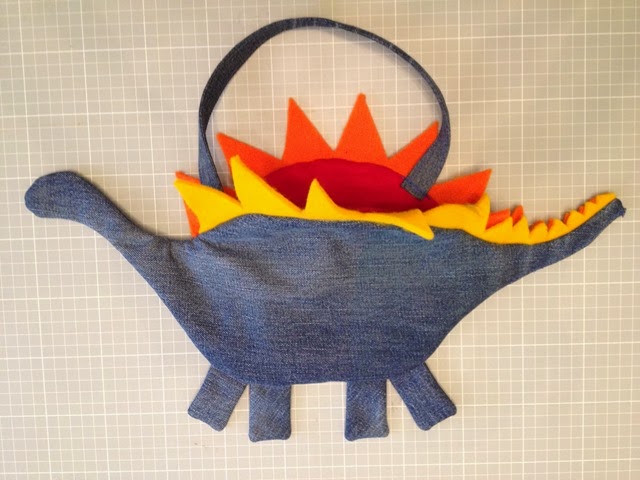
I upcycled more denim, combined it with felt and some cotton fabric and tada: this is the dinosaur bag:

IMG_5103

After much tweaking, swearing and seam ripping it was done. And I won’t do it again. No wonder there are no tutorials for dinosaur bags. The construction was a real pain in the butt…

But it was worth the effort. My kids love their new bags and they were a huge success on St Martin’s day:

St Martin

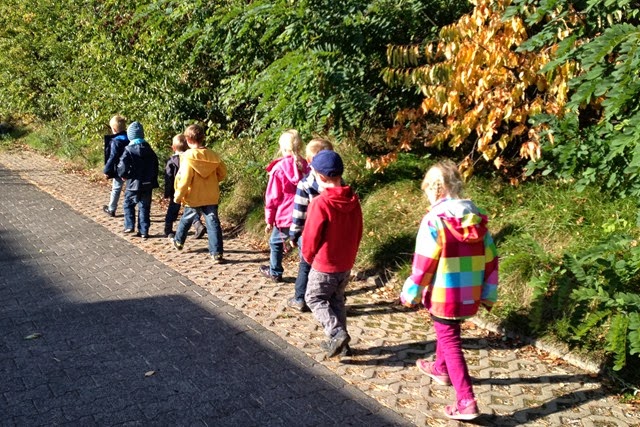
And now they take them to kindergarten every day.

Upcycled bags for boys

Happy upcycling!
Christine

Tuesday, November 12, 2013

Thank you!!!

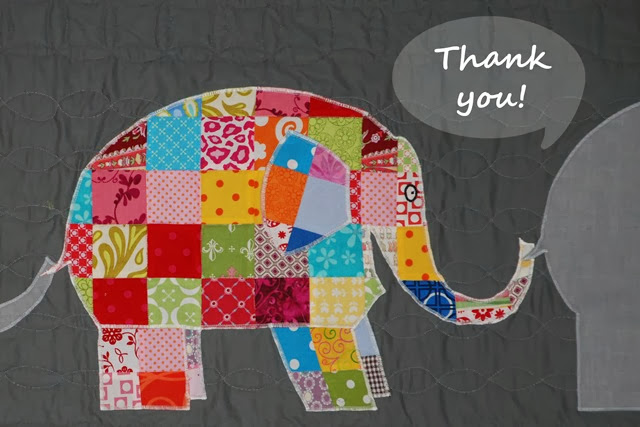
Elmer Thank you

A special thanks to everyone

  • who visited my little blog during Blogger’s Quilt Festival.
  • who left me a comment. I never received so many lovely and encouraging coments before. You all made my day week month!
  • who voted for my little Elmer Quilt!

I am still in awe that my little quilt won I prize! When I received Amy’s email I first thought that I had won a random prize. When I realized my quilt had won the Scrappy Quilt Category, I was so happy that I giggled and danced around the house like a mad woman (o;

Oh wait, there are more people to thank:

  • Amy – for organizing this Festival. I am sure you put much energy and time into this online gathering of Quilty Bloggers.
  • The Sponsors – for all the generous prizes you offer for winners and readers.
  • Pinners – thank you for pinning and re-pinning my little Elmer on Pinterest.

Congratulations to all the other winners (Button below links to list of winners)!

AmysCreativeSide

Happy Quilting!
Christine

Saturday, October 26, 2013

Dare to be different – A finished Quilt

Yay! I finally finshed the scrapbuster swap quilt. It was my first swap ever and the first round was postage stamp blocks. I made a bunch of blocks, send them off across the big ocean…
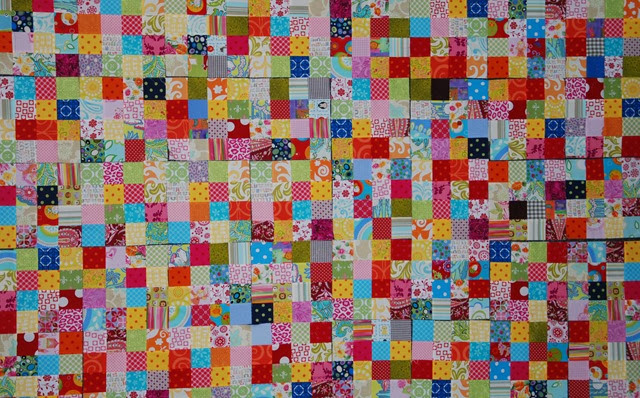
Scrapbuster Swap (3)_bb

… and received colourful scrappy blocks from around the world. I wanted the quilt to be big enough to serve as a throw quilt and added more blocks…
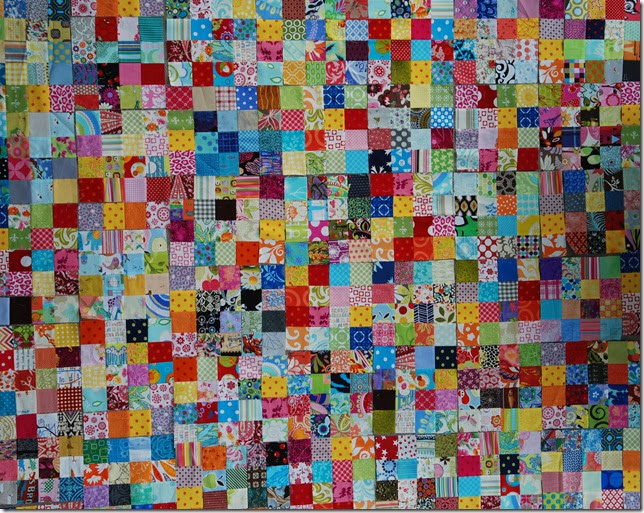
Scrapbuster Swap after Swapping (1)_bb

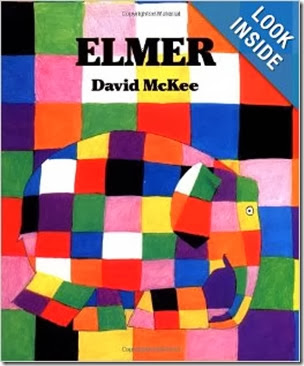
But I alwasy felt that the quilt was too busy and lacked a bit of interest and a little special something. And then, two years ago, inspiration came disguised as a book:
51ulvedxXcL._SX258_PJlook-inside-v2,TopRight,1,0_SH20_BO1,204,203,200_

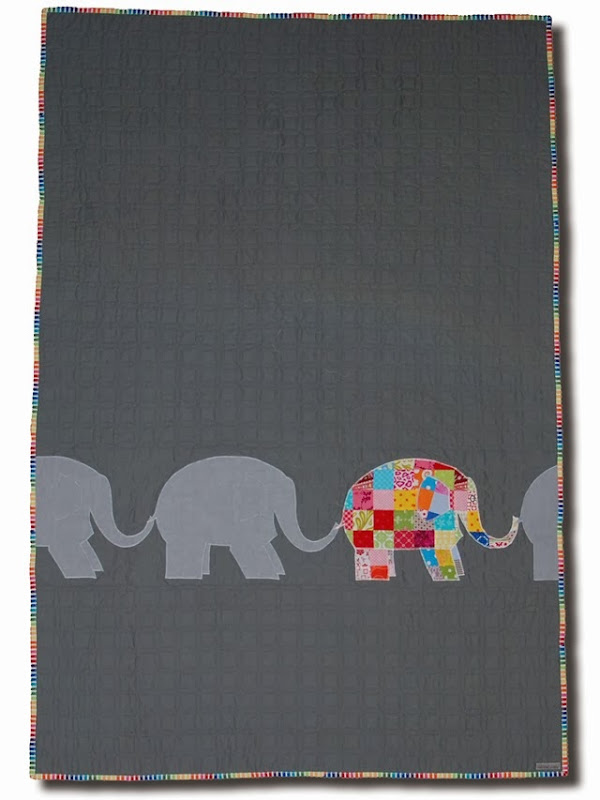
I knew how I wanted to use all those scrappy swap blocks. I made several grey elephants out of grey linnen. I made Elmer from more scraps and then I got stuck halfway down the way. I needed a background fabric and I was not sure how to arrange the blocks. Elmer in between colourful rows?

So what did I do? I put the entire project in a box and let it rest for almost two years. Am I the only one?!

Three weeks ago, I finally took it out again and suddenly everything went on smoothly. I made some more blocks, decided on a block layout (KISS: keep it simple and stupid) and made a reversible quilt:
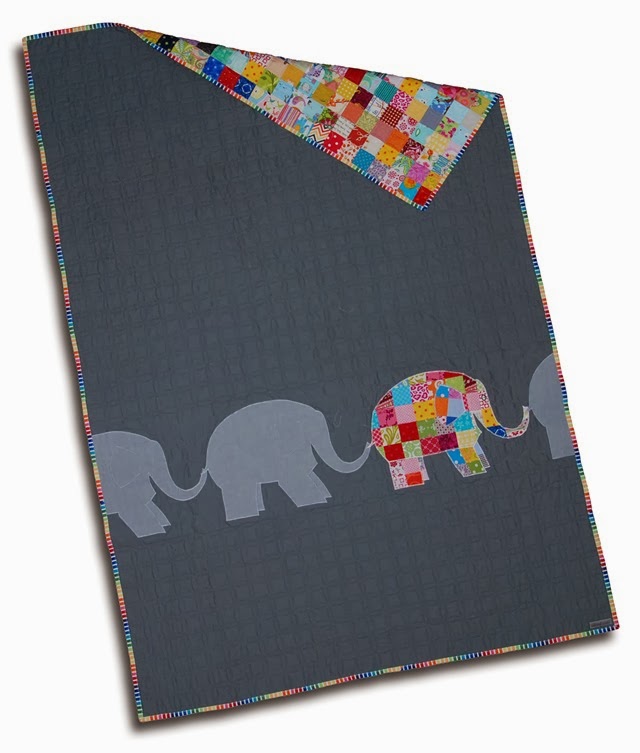
Elmar Quilt Top3

And I won’t even try to diguise how happy I am with the final result. I loooooove this quilt. Both sides of the quilt. And as it is going to be used on our sofa, there is no chance that only one side will be visible.
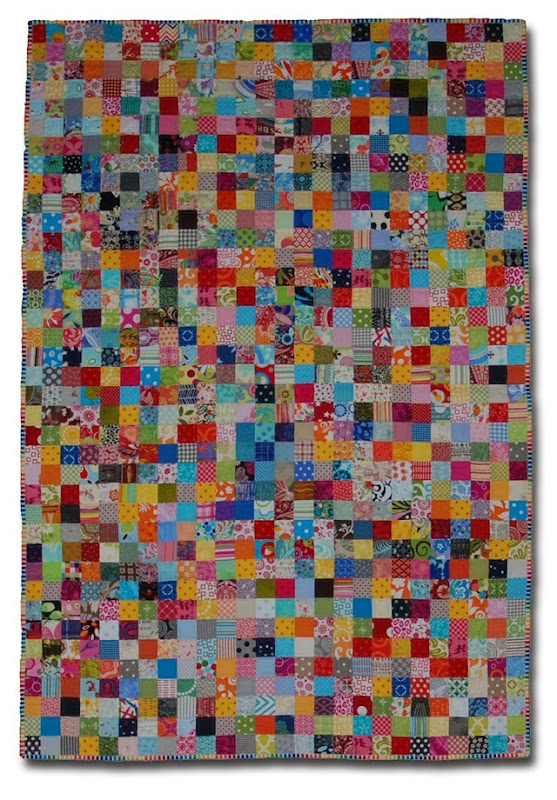
Elmar Quilt Back

I love how some scraps bring back memories of quilts I made and there are also squares of Mini Charm Packs that my friend Brigitte brought home from Quilt Market. I also used scraps from her four fabric lines for moda. And I love the thought, that this quilt also represents memories that my fellow swappers have of quilts that THEY made.
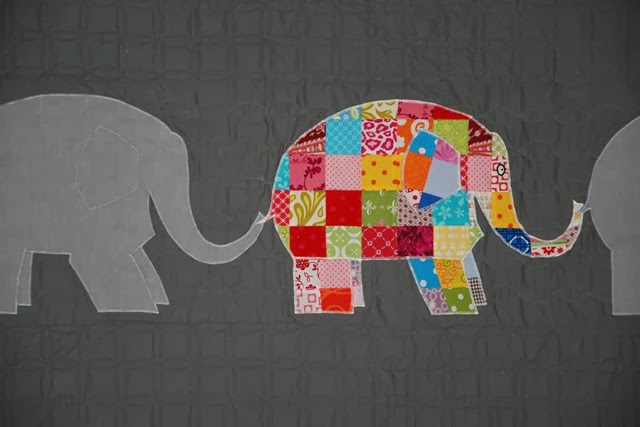
Elmar Detail

Here’s a close up of Elmer. Elmer is not grey like all the other elephants and at first is uncomfortable with his appearance. But by and by he realizes that his personality is not defined by his appearance and that he is happiest when he is himself – without disguise or pretentions.

A lesson I try to teach my two little sons as well: dare to be different!
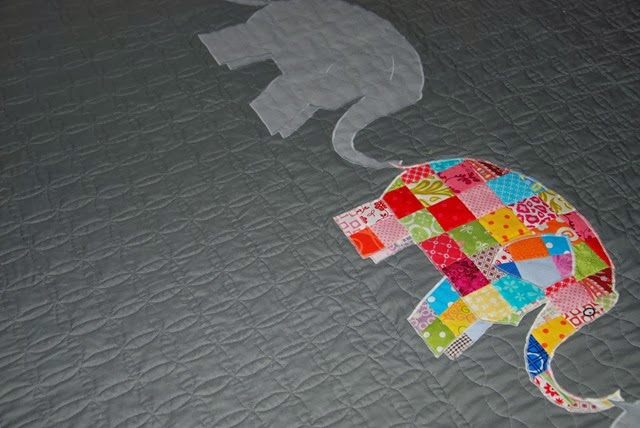
Elmar Quilting Detail4

So I kept the other elephants without details. I didn’t even bother to make them eyes. Only Elmer stands out. I wanted to stress his differentness by enhancing the sameness of the others.
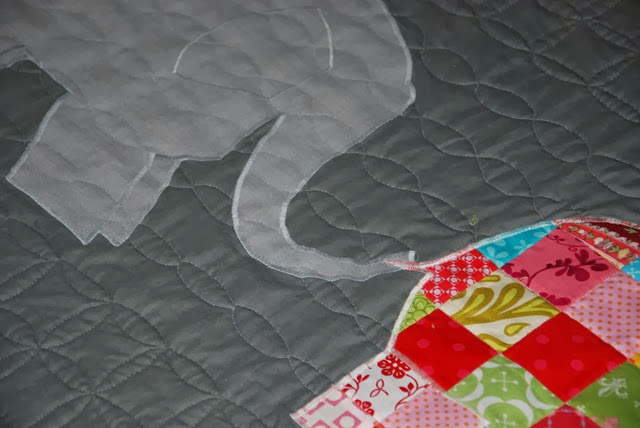
Elmar Quilting Detail

I free motion quilted Orange Peels all over the quilt. I quilted with the patchwork side facing up, using the squares as a natural grid and using a blending grey thread for the “back”. Then I turned the quilt and stitched in the ditch of Elmer’s patchwork. Afterwards I turned the quilt again and quilted only horizontal Orange Peels (or Petals) through the other elephants.
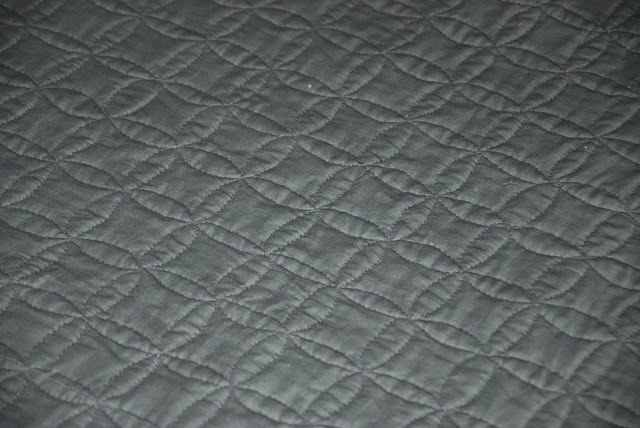
Elmar Quilting Detail2

This is a look at the back and top. I love how the Orange Peels turned out - if I do say so myself (: I thought about Dogwood at first but somehow thinking of elephants I rather thought of Orange Peel…
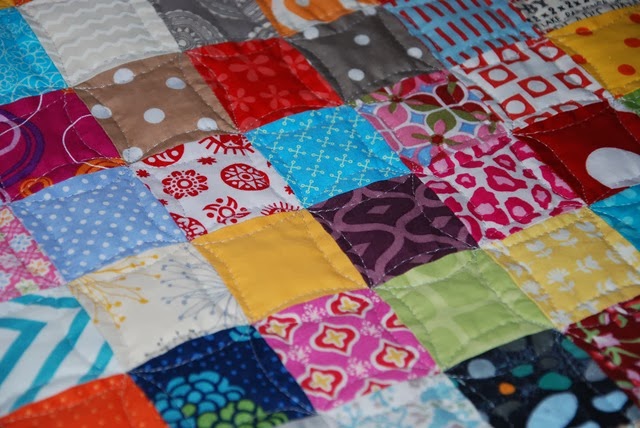
Elmar Quilting Detail3

I used those Ann Kelle remix stripes as a binding and my favourite method of attaching the binding: the triple zig zag stitch of my sewing machine.
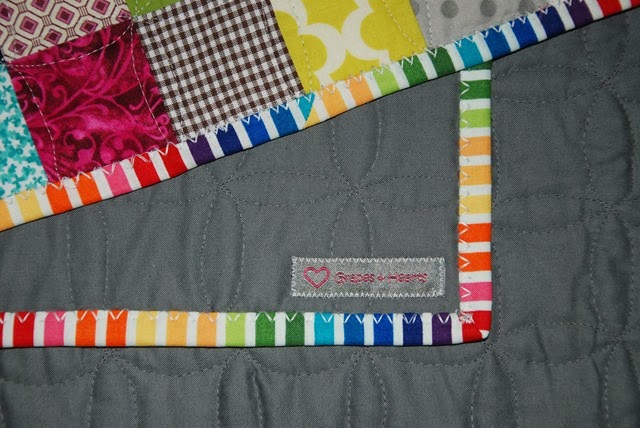
Elmar Quilt Top Binding

et voilà:

Elmar Quilt Top

One last shoot with the patchwork side peeking over…
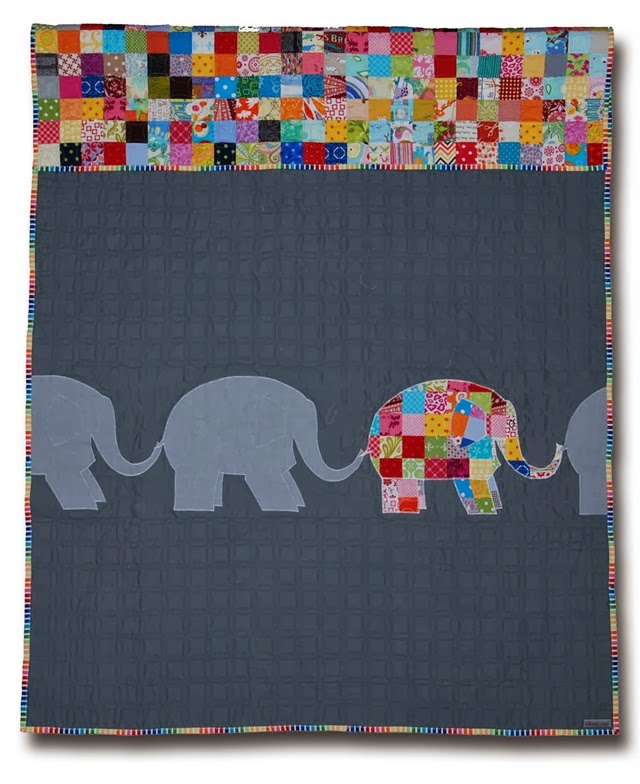
Elmar Quilt Top2

It is that time of the year again: It’s Blogger’s Quilt Festival again! There’s so much to be seen and so many lovely stories to be read.
This quilt is my entry for this fall. I’d say it is a Group Quilt or Scrappy Quilt.

AmysCreativeSide


Thank you very much for vising.

Please consider leaving a comment, that way I can hop over to your entry, too!

Happy Quilting everyone and remember: dare to be different!
Christine

Thursday, October 17, 2013

A sixth birthday

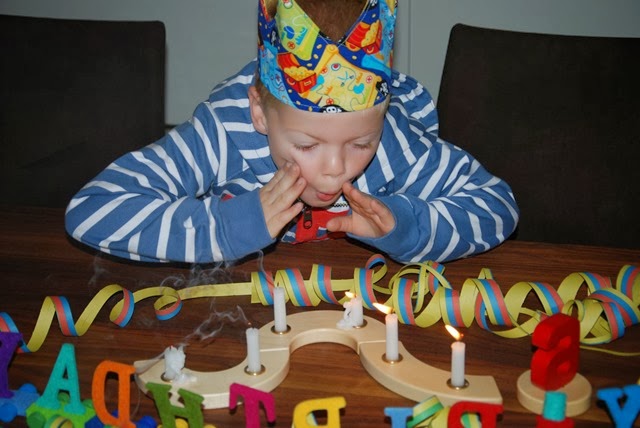
Two weeks ago our eldest turned six (gasp! already?!).

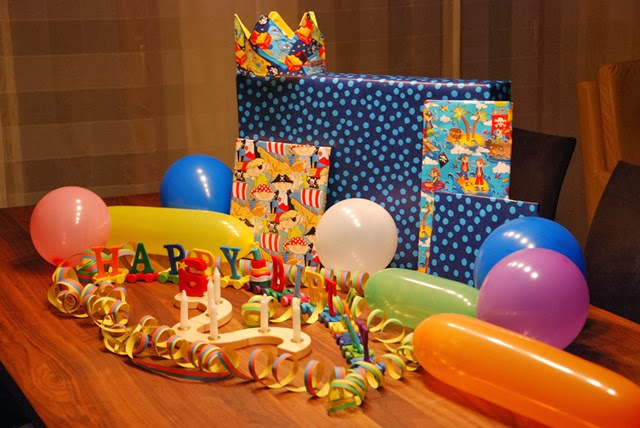
First thing in the morning he went downstairs to unwrap his presents (:

Max1

Max4

Max3

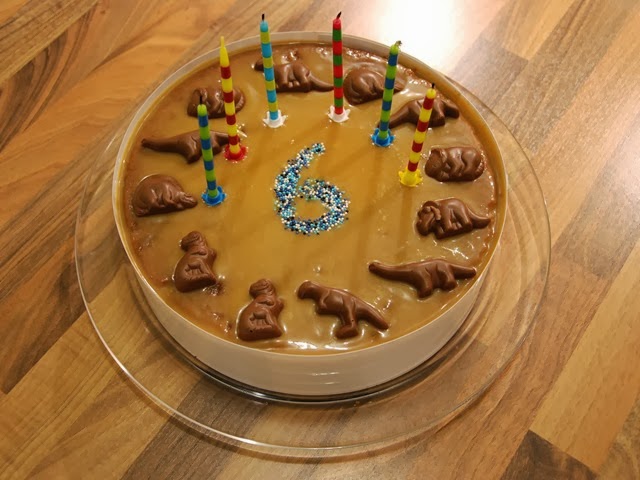
His birthday cake (a double caramel and chocolate cake)…

Max2

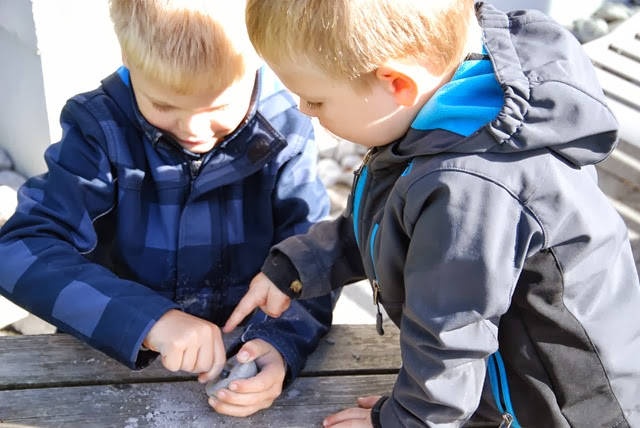
He wanted to throw a “Dinosaur Party” and so we had seven little paleontologists over for a “Bone Hunt”. I had written a note from “Professor X” who asked for their help because he lost some fossils.

Max5

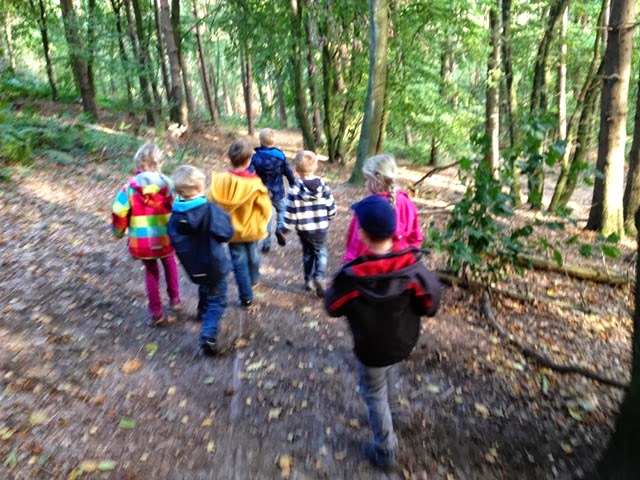
I had hidden 20 messages in “our” forest. They had to answer questions to prove that they were real paleontologists. “Was Diplodocus a herbivore or a carnivore?” If they answered the question correctly they were given a clue to find the next message.

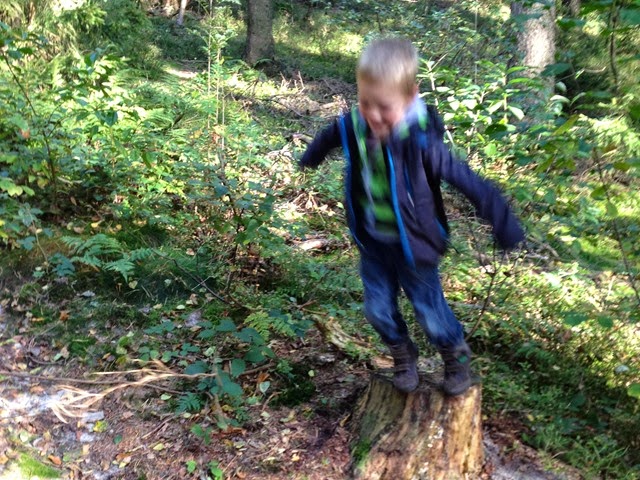
Some messages contained “Action” cards. Below you can see our youngest fulfilling the first action: “Jump from a stub acting like Deinonychus!” So they all jumped with their hands formed to imitade claws and groaning like a Dinosaur.

Max6

Besides the next clue they were given a small map indicating where they could dig for a little box filled with sweets. Soon those action cards were their favourites (:

After more than 1,5 hours we stopped for a picnic. I had baked brownies in little twist-off jars and we brought along vanilla sauce as topping.

Sorry – I forgot to take photos of the picnic.

Max7

We won’t talk about the fact that the birthday boy insisted on finding ALL the messages himself and the little quarrel we had about that halfway through the hunt ): Afterwards he calmed down a bit and the rest of the hunt went on smoothly.

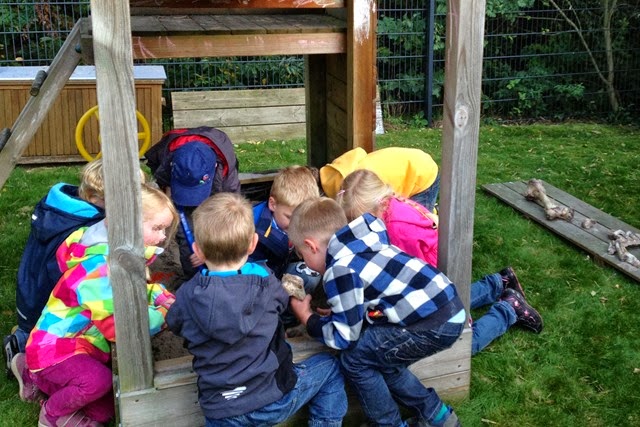
The final message indicated that the lost bones could be found in our sandbox. If you look at the next photo you can see some of those bones at the right hand side.

Max8

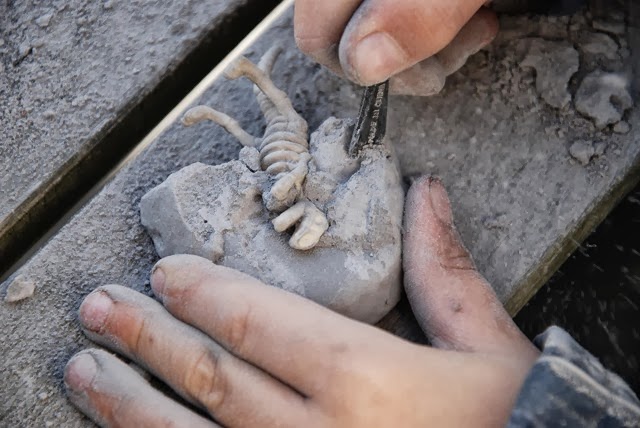
Of course, all the kids wanted to take those dinosaur bones home. But I had written a second letter of “Professor X”: He thanked the kids for finding his fossils and insisted that they should be sent back for further analyses. He had however provided a gift for everyone: large eggs filled with an artificial stone that enclosed a plastic fossil and some little tools.

Max

We put those eggs into the little “thank you” bags – along with some sweets, dinosaur stickers and a little dinoaur coloring book.

Max11

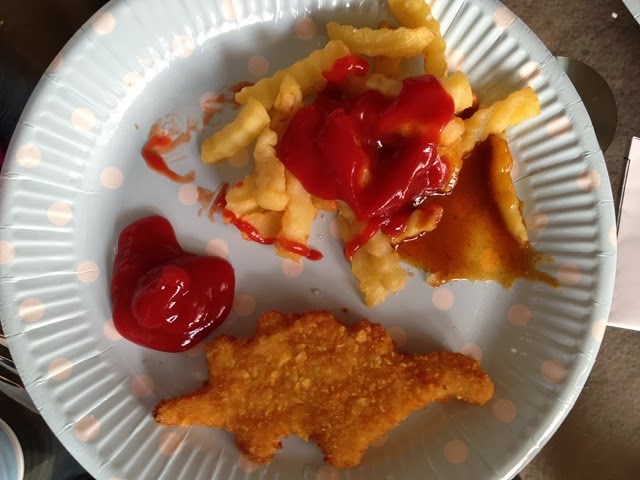
For dinner we had Dinosaur Meat (breaded chicken) and fries.

Max9

The Bone Hunt took much longer than anticipated. All in all it took 2,5 hours and the kids were quite exhausted at the end of the day.

I am glad I had put so much energy into all the preparations because it was truely a great day and the Bone Hunt flew by in no time. I hope my eldest will remember his sixth birthday as a very special one.

Thanks for visiting!
Christine
Monday, October 7, 2013

The Yellow Lessons Learned Quilt

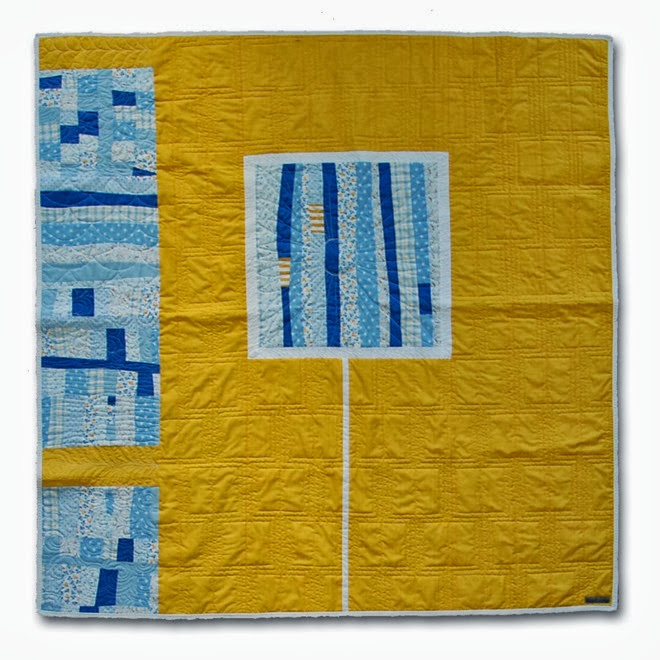
I recently finished another quilt. A quilt that is definitely not one of my favourites. But I learned a lesson or two making it.

I started out with some improv blocks I made about 1,5 years ago. Then we had an improv class during our MQG Bielefeld meeting last year. I neither liked the improv cutting nor the colors.

Freestyle block (1)

I decided to combine them with a rich and saturated yellow – now was better – but still not exactly my cuppa.

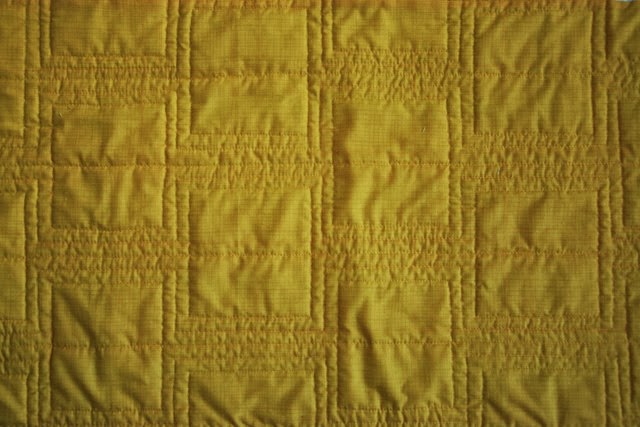
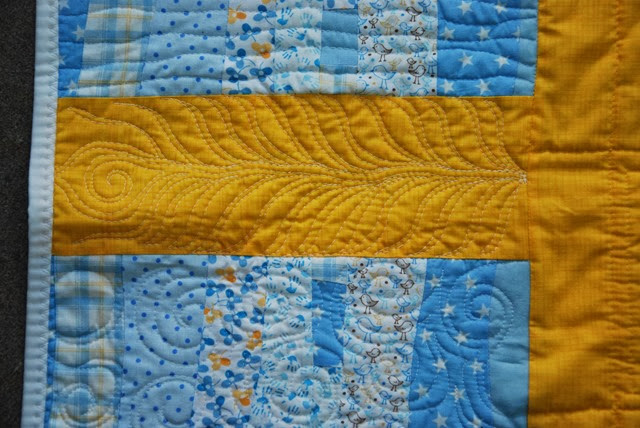
I had that quilt top sitting around for a year or so before I started basting it. And it would have stayed in that state had I not needed my basting needles for another quilt. I started quilting “Atomic Squares” on the yellow background. This design is one of my favourites from the book “Free Motion Quilting with Angela Walters”.

Quilting Detail Boxes

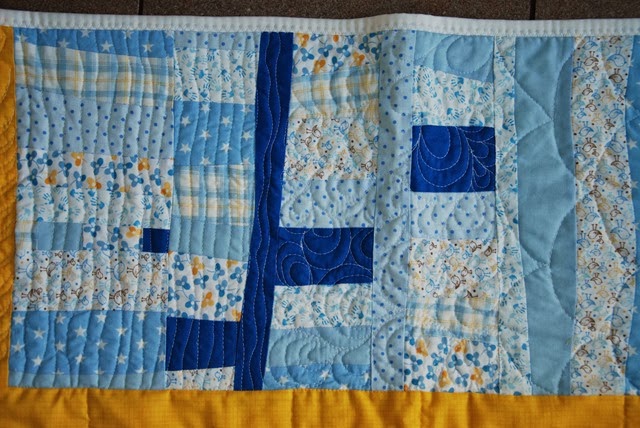
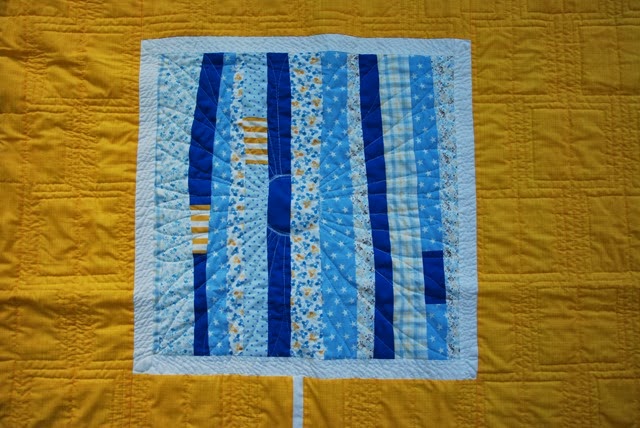
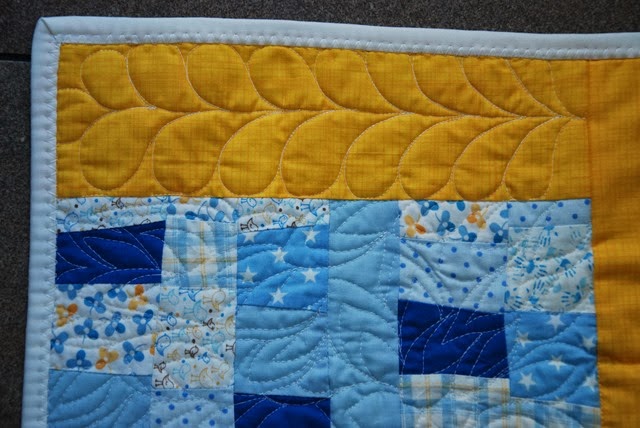
When I returned from London, I had learned so many new FMQ designs in Trudi’s Class that I decided to use this un-loved quilt as a Free Motion Practice Quilt and to try different FMQ designs in different areas:

Big-Ls…

Yellow Improv Quilt Quilting Big L

Wavy lines and shells and clam shells…

Yellow Improv Quilt Quilting Shells

A giant flower…

Yellow Improv Quilt Quilting Centre Flower

A feather, some swirls

Yellow Improv Quilt Quilting Feather

…and some petals and leaves…

Yellow Improv Quilt Quilting Petals

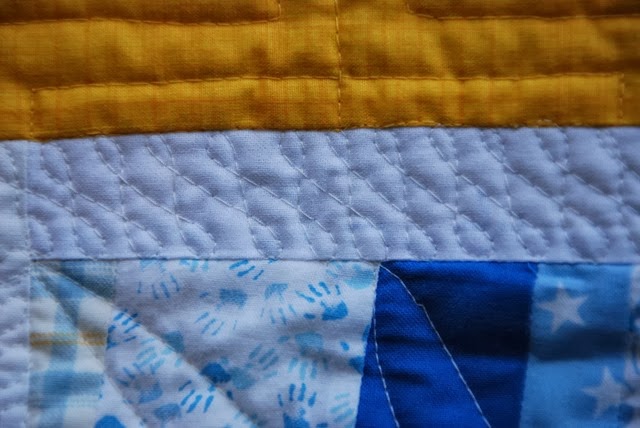
I used a white binding and my favourite zig zag finish.

Yellow Improv Quilt outtake

I liked the “Atomic Squares” best and will definitely use that design again. I did not mark the fabric, I used some seams as guidelines and had a small ruler at hand to doublecheck the size of the squares from time to time.

Yellow Improv Quilt1 Kopie

I forgot to take a photo of the backing, it is pieced using leftovers from the top.

All in all, it is a fun little quilt, I am glad I finished it at all.

Besides the technical lessons I learned (improv cutting and piecing, colour combination, FMQ designs, etc.), I learned something more: perseverance (I finished it after all) and acceptance of imperfection (I forced myself to NOT rip out those ugly stitches).

Oh and by the way, I learned to NOT quilt so close to the edge of the quilt that half the stitches are buried underneath the binding ):

Many lessons learned – even if the result will never be a favourite. Because most of all, I learned that improv is not my cup of tea at all. Give me squares and rectangles and circles and triangles. But no more improvisional cutting and peicing, please…

Thanks for visiting!
Christine
Monday, September 23, 2013

Benzine and Adrenaline

This is completely off-topic but it was so exciting that I have to share what I did this weekend.

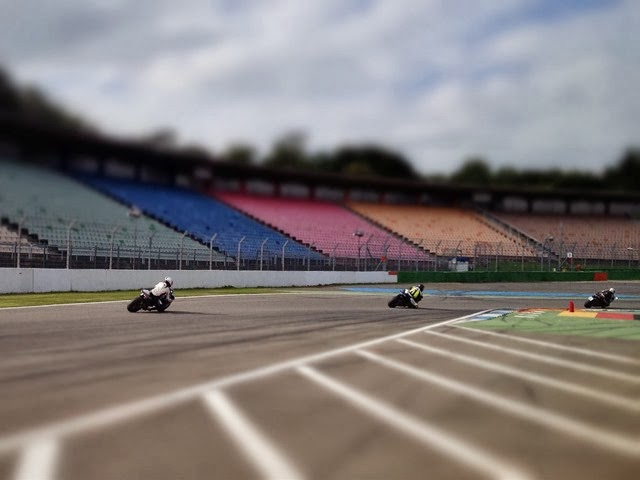
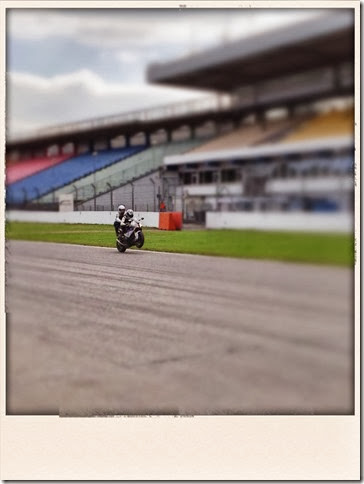
We left the boys with their grandparents and my husband took me to Hockenheim Racetrack. On Sunday we watched the International German Superbike Championship and on Monday he attended a racetrack training:

IMG_4623

And then something incredible happend. I was asked if I wanted to be passenger on a BMW S1000RR. I did not even hesitate when I heard who was going to be “my” driver: former MotoGP Professional Jürgen Fuchs.

Next thing I know is this:

IMG_4633

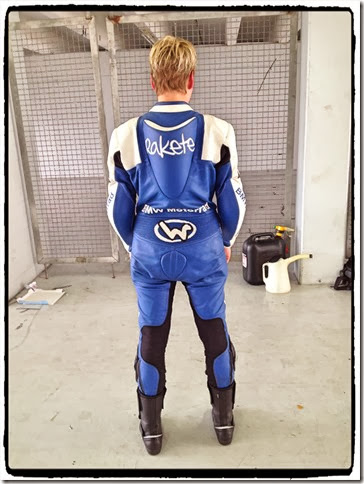
I borrowed a racing suit…

IMG_4631

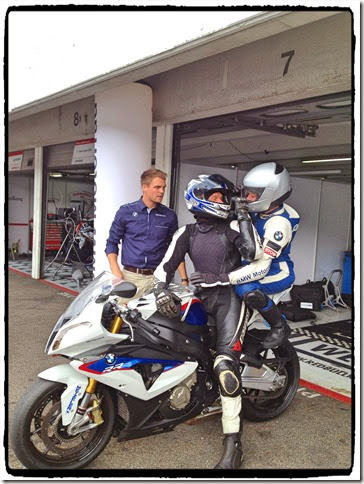
Jürgen explained where to place my feet, hands, butt and head (o:

IMG_4632

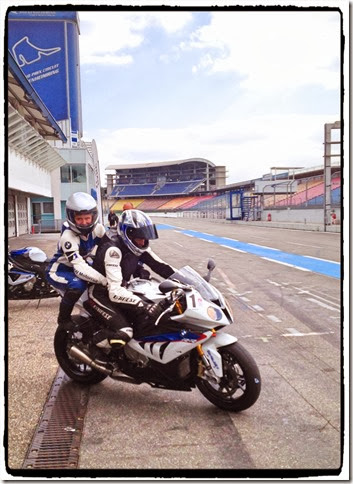
and we were off…

IMG_4630

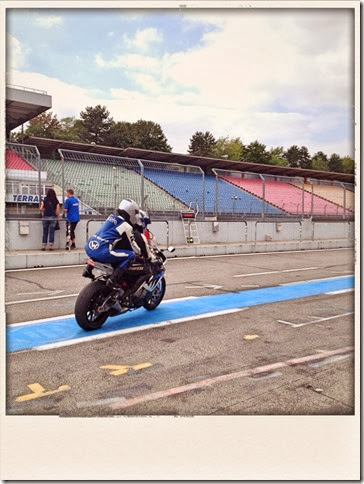
I can’t even beginn to describe how it feels to accelerate on a 200hp machine to >200 km/h and  to come back right the next moment to 1st gear for a hairpin turn.

IMG_4625

Let’s just say the acceleration is the fun part…

IMG_4628

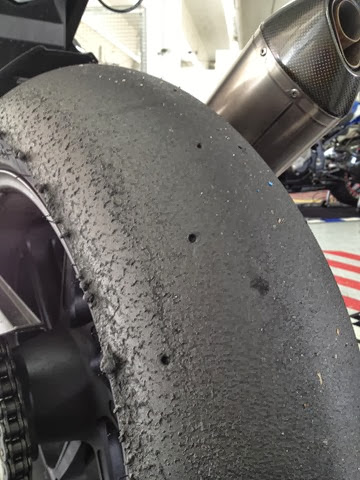
… And the throttle caused sore muscles even after only three turns.
I’d do it again anyway – as long as it is a professional driver who knows how to handle passengers (o:

Result of the day:

IMG_4581

So many new things learned and a memorable experience won.
Thank you BMW Motorsport Crew!!!

Sorry if I bored you, I just couldn’t resist sharing this impressive adventure.
Christine
Related Posts Plugin for WordPress, Blogger...