Showing posts with label low volume. Show all posts

Saturday, February 13, 2016

Quilts for brothers (2)

Here's the second quilt I made for the boys: another strip quilt, this time with 60° triangles.
 
 
Once I had all those triangles cut and sorted, I pondered about the layout. On the left you can see monochromatic spiderwebs, on the right I layed out multichromatic spiderwebs.


I liked the multichromatic version better so I started sewing those webs together: I had to use tons of starch to get acceptable results.


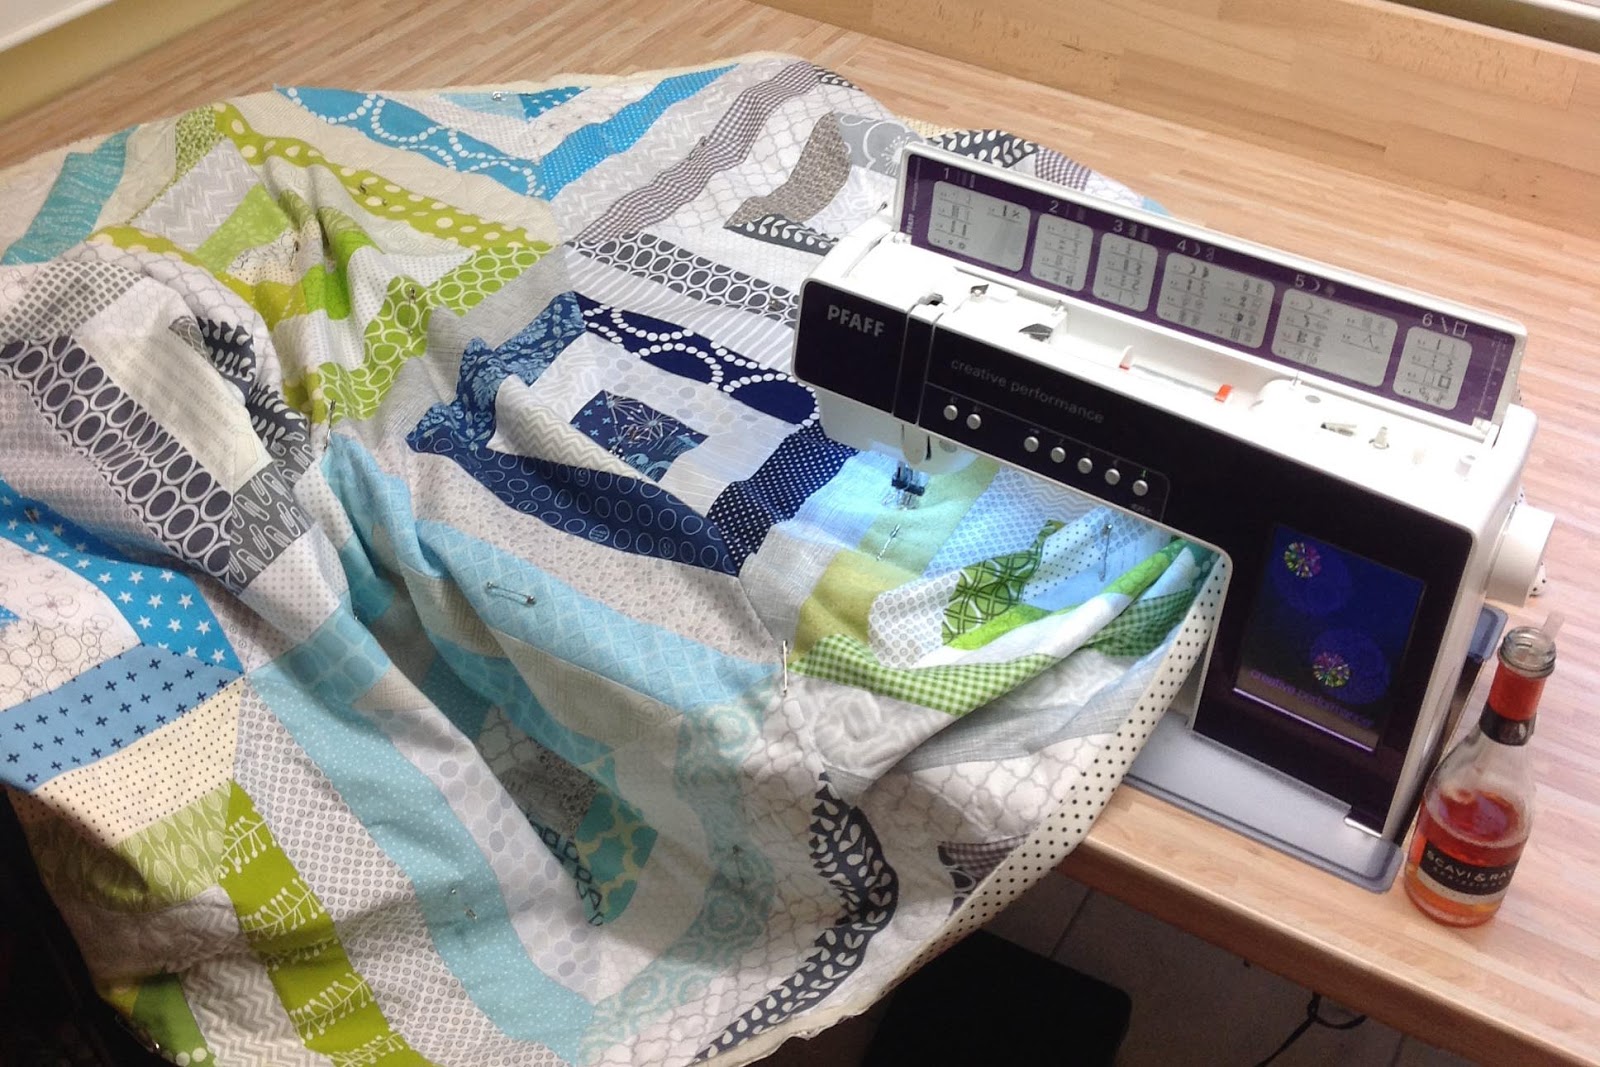
Like the first quilt I made for the boys, I only quilted within the white strips. This time choosing a single, simple quilt design, because I thought things were already varied enough. So, simple steep loops, many "l"s was all I quilted in light grey Aurifil thread throughout those light parts of the spiderwebs:

 
The backing is the same on both quilts: black pindots on white. I used the same fabric for the binding.
 
 
Here's a close-up shot of the quilting:
 
 
And this is the quilt in it's entirety:
 
 
I hope that these two quilts will be loved by the boys, now while they are still small and also later when they grow up. I chose those contemporary colours and prints so they can still use them when they are teens or twens or "really old" (o;
 
Happy quilting!
Christine


Wednesday, February 10, 2016

Quilts for brothers (1)

When our friends moved away, I made quilts for their boys as a special memory to take with them, to remember us from time to time. The boys used to share one bedroom so I wanted to make similar quilts, matching in colour but not strictly in design.


I chose low volume grey and white-ish prints and accent fabrics in blue, green, dark grey and turquoise and started sewing 4 strips together. Out came my 90° ruler and I cut striped triangles from each 4-strip-set.

 
Then the fun pain of trying out different layouts began... I opted for a giant arrow, diagonal rows, chevrons and diamonds. Which one do you like best?!
 
 
Once I decided on the design (Diamonds, because it matched my choise for his brother's quilt best), I started sewing the blocks together. Trying to match those points and cursing when the bulky seams made things difficult...
 

I only quilted within the light strips with a light grey aurifil thread and tried out different fmq designs...

 
(oups, can you see how I kept myself going while struggling with the quilt...? What is you prefered beverage during fmq sessions?)
 

I tried waves...


... and leaves...


... and triple loop-de-loops...


... and feathers.

 
I added his name and used a scrappy low-volume binding, finished off with a triple-zig-zag-stitch.
 
 
And here it is... the first of the two quilts for brothers...
 

I'll be back with the second one shortly...
Happy quilting
Christine


Saturday, January 31, 2015

MQG Bee Quilt

At the end of November our Modern Quilt Guild Bielefeld received a new addition: our second Guild Baby!! We knew beforehand that our Guild member and my close friend was expecting a boy. So we considered several blocks and colour schemes that suited our plans for a bee quilt for the little man.

Not too many matching points (for easier assembly – somehow the quarter inch of seam allowance varies with every person?!) and not too difficult so that even the newbies could join in.

We decided on a wonky pinwheel design, using low volume prints for the background and blues, greens and greys for the pinwheels.

MQGB Valentin

I volunteered to make the quilt top, baste, quilt and bind it, so I was in charge of the layout, too. This was the first attempt: All blocks arranged, I tried to spread the colours evenly. (Sorry for the bad shot, the blocks are hanging on my design wall, down in the basement –> bad lighting)

MQGB Valentin blocks on design wall

I thought the effect was too chaotic and that the wonky pinwheels were not as clearly visible as I had hoped for. So I made some more blocks and added a border.

MQGB Valentin Top

I quilted it with semi-leaves (is there an official name for this quilt design?!) and stitched in the ditch to reach the next pinwheel. That way I could quilt coherrently, without breaking threads for every new pinwheel.

MQGB Valentin quilting

Here’s a closeup. I used a white Aurifil so that the thread blends with the background fabrics where I stitched in the ditch while it stands out within the pinwheels.

MQGB Valentin closeup quilting

I machine embroidered the quilt label and one of our bee memberes stitched it down by hand. Who would have thought that Aurifil’s cotton thread doubles up as embroidery thread, too?!

MQGB Valentin machine embroidery

This is the finished label and you can see the flannel backing I chose. Don’t you love it when the stars line up and you find the perfect backing?!

MQGB Valentin backing and label

As for the binding… never change a winning team, right? It seems like my triple zig zag stitch and I are BFF.

MQGB Valentin binding

For the binding fabric I chose a rather subtle one. I tried different colours from the original colour scheme but all blues and greens that I tried were… just… too much.

I rather like the effect of this lower toned binding (if I dare say so myself).

MQGB Valentin folded

Here’s one last shot of the quilt with part of the backing flipped over.

MQGB Valentin flipped over

If you’d like to see my friend unwrapping the quilt during our last MQG Bielefeld sew-in, hop over to our website.

Is anyone interested in a tutorial for the wonky pinwheel blocks? I wrote a quick and easy tutorial for our bee members. It is in german but I could translate it if someone should be interested. Just leave me a comment (o:

Oh and by special request I took photos of the binding process so there’s a tutorial on that triple zig zag binding coming soon!

Thank you very much for stopping by.
Happy Quilting!
Christine

Friday, January 9, 2015

Gemmed – a baby girl quilt

After facing the epic fail of the bearding quilt. I quickly decided that I needed to make a second, a better quilt for my new (and first) niece.

My sister did NOT want all those pink and rosy colours so I opted for low volume fabrics with some colour mixed in.

wip

Trimming blocks in girl-ish fabrics – that does not happen often over here… I might even have enjoyed the tedious work. A bit.

trimming

I let the blocks form little wonky multicolour gems. With just a bit of pink or violet or rose. Then I backed it with a multicolour dotted flannel, chose a variegating Aurifil thread, grading from blue over pink into white, and free motion quilted it with “organic” straight lines…

Karla Quilting

… and little petals within the gems.

Karla Details of Quilting

It makes a lovely design on the back of the quilt (if I dare say so myself):

Karla Quilting detail

This time I added the lettering after I finished the quilting. First and last time. Period.

Karla Applique

Do I need to mention that I bound it with a triple-zig-zag-stitch?
No. I always do and always will.

Karla Binding and Backing

BUT I will mention how much I looooooove the binding I chose (shameless self-praise). Following the low volume theme, I chose a fabric stating “security is a thumb and a blanket” (must be the Peanuts / Charlie Brown?!). I really love the effect it has on the quilt and how it matches a baby quilt in particular.

Here’s another shot:

Karla Binding

Well, here it is, the “remedy” for the bearding quilt:

gemmed

Well, this was a lot of recap in a short time.
Now I desparately need to sew - otherwise I won’t have anything new to show you!

Happy quilting!
Christine

Related Posts Plugin for WordPress, Blogger...