At the end of November our Modern Quilt Guild Bielefeld received a new addition: our second Guild Baby!! We knew beforehand that our Guild member and my close friend was expecting a boy. So we considered several blocks and colour schemes that suited our plans for a bee quilt for the little man.
Not too many matching points (for easier assembly – somehow the quarter inch of seam allowance varies with every person?!) and not too difficult so that even the newbies could join in.
We decided on a wonky pinwheel design, using low volume prints for the background and blues, greens and greys for the pinwheels.

I volunteered to make the quilt top, baste, quilt and bind it, so I was in charge of the layout, too. This was the first attempt: All blocks arranged, I tried to spread the colours evenly. (Sorry for the bad shot, the blocks are hanging on my design wall, down in the basement –> bad lighting)

I thought the effect was too chaotic and that the wonky pinwheels were not as clearly visible as I had hoped for. So I made some more blocks and added a border.

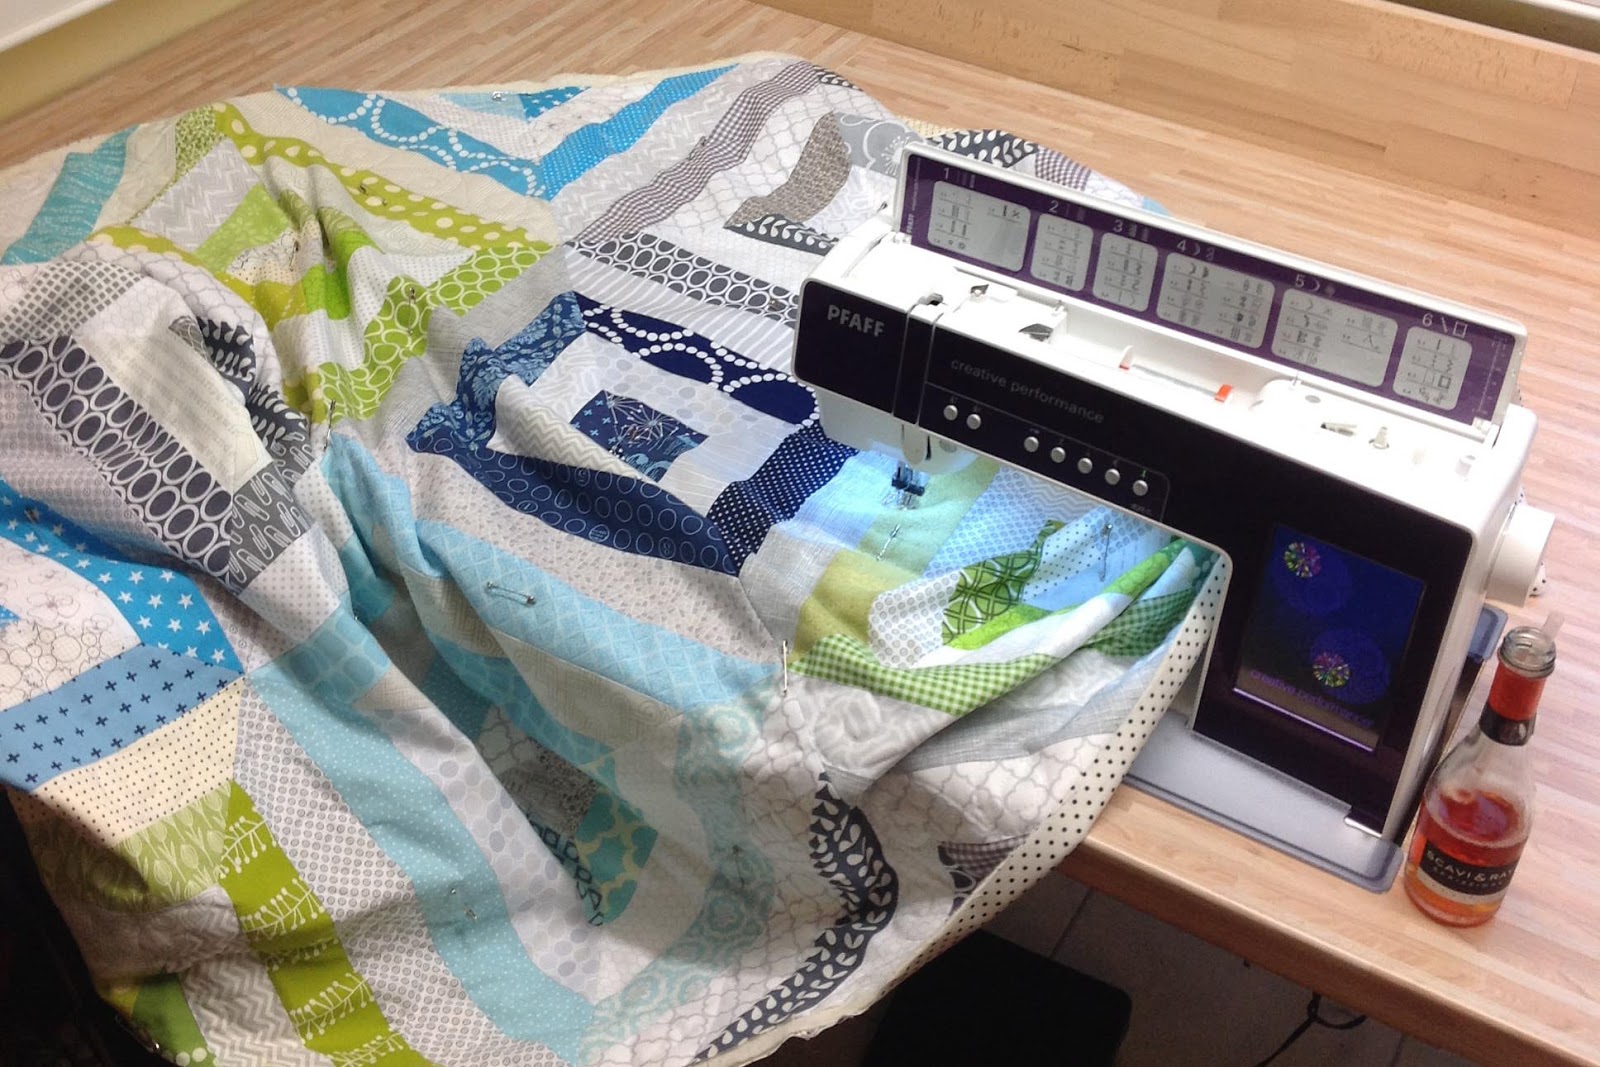
I quilted it with semi-leaves (is there an official name for this quilt design?!) and stitched in the ditch to reach the next pinwheel. That way I could quilt coherrently, without breaking threads for every new pinwheel.

Here’s a closeup. I used a white Aurifil so that the thread blends with the background fabrics where I stitched in the ditch while it stands out within the pinwheels.

I machine embroidered the quilt label and one of our bee memberes stitched it down by hand. Who would have thought that Aurifil’s cotton thread doubles up as embroidery thread, too?!

This is the finished label and you can see the flannel backing I chose. Don’t you love it when the stars line up and you find the perfect backing?!

As for the binding… never change a winning team, right? It seems like my triple zig zag stitch and I are BFF.

For the binding fabric I chose a rather subtle one. I tried different colours from the original colour scheme but all blues and greens that I tried were… just… too much.
I rather like the effect of this lower toned binding (if I dare say so myself).

Here’s one last shot of the quilt with part of the backing flipped over.

If you’d like to see my friend unwrapping the quilt during our last MQG Bielefeld sew-in, hop over to our website.
Is anyone interested in a tutorial for the wonky pinwheel blocks? I wrote a quick and easy tutorial for our bee members. It is in german but I could translate it if someone should be interested. Just leave me a comment (o:
Oh and by special request I took photos of the binding process so there’s a tutorial on that triple zig zag binding coming soon!
Thank you very much for stopping by.
Happy Quilting!
Christine

![Fraying_thumb[2]](https://blogger.googleusercontent.com/img/b/R29vZ2xl/AVvXsEhKzoie5XctZyWShubbRw7QaPmyisSyrPYP5D9guMhcrwgbJVJbE_IyBP5fKOPLT6j5xkeewEwhXAVx-5RJ2A1l2iIbtfvj3ymhzmmDcxy5ytrzAem84TXZaJvRG4b8pDpOTHAeAl3Ih6cc/s1600-h/Fraying_thumb%25255B2%25255D%25255B7%25255D.jpg "Fraying_thumb[2]")
![Detail of quilting_thumb[2]](https://blogger.googleusercontent.com/img/b/R29vZ2xl/AVvXsEgYByQNcrFmmpNaXpvXMZOGqvmfoulFslT27cqXkpuWEyQRFzpIqFrjC0jLZjGPDrHZgqRN7cHQ6Dg23s8dtJstbA9KS1PwYWvZfpVnzT-wOJS-tj0jdycU9PKpUV9gFe-9z1D1hYpfTkZu/s1600-h/Detail%252520of%252520quilting_thumb%25255B2%25255D%25255B5%25255D.jpg "Detail of quilting_thumb[2]")
![Letters_thumb[2]](https://blogger.googleusercontent.com/img/b/R29vZ2xl/AVvXsEhbtsE6jDSigP6bmTS1ltxMFaCJW_yB1Az1YahQrAlW9LE1knugUEKpvqSra_eMiIMXCcym76uHT4r_p1OddPqZdeDZQA57jwHLL1FIELX3f3DcQGgI0LodOutl9vA-eNtmuY6RHt4Fw50l/s1600-h/Letters_thumb%25255B2%25255D%25255B5%25255D.jpg "Letters_thumb[2]")
![Theos Quilt_thumb[9]](https://blogger.googleusercontent.com/img/b/R29vZ2xl/AVvXsEi2c-yQV_viVhSELkG3h6S9MxMvV6N5ZcqLVRmydIF9agrxMXfKDwnAXtZJ_gvPO8L6wU2vSp18jEsMZTpyxKY_Ps0k-7Y1QoqSfRtOX9S122RLNZX1us-42jIkHe3o7aT6r06yvdve3wMO/s1600-h/Theos%252520Quilt_thumb%25255B9%25255D%25255B6%25255D.jpg "Theos Quilt_thumb[9]")


![IMG_7620[1]](https://blogger.googleusercontent.com/img/b/R29vZ2xl/AVvXsEgdGz73JfFp1OmMLJbQYJCOTKOlr26dIjhM43GJkNa89ntAEH3BY2GZQXjYVs5INV3clvsrFOpXF3cyVstsOkmMHQ8v_snpF75CX9AruU8HXpy3D8gBF8LQ5FdHrgzEQO9hBHBDimj3i4hu/s1600-h/IMG_7620%25255B1%25255D%25255B6%25255D.jpg "IMG_7620[1]")
![IMG_7487[1]](https://blogger.googleusercontent.com/img/b/R29vZ2xl/AVvXsEhZDOk2iZBa9jxu9YR4ArWBnaxSQ4Yx_SdemFWYD1YdXzM2bJmed1hZrlPIocGlF0G73RkdacO0eL5vXJ3pni3bWjMboPsTuHg85UxEsyd_uQ_5cu9qI4fOITlJTwz726p-QANbeH-pjW9M/s1600-h/IMG_7487%25255B1%25255D%25255B15%25255D.jpg "IMG_7487[1]")
![IMG_7515[1]](https://blogger.googleusercontent.com/img/b/R29vZ2xl/AVvXsEgzOjBWVFgOk0fBHuBH2j_XkYgqL9iB5h859SY4FFGIqNJaezMQ5BBCI3wRrYoqMvG51yImFSXVa7HL1XRkpAOmJ_8Mg2PE7PqutWlei9QArKQ1f1gj85Vavkk8YD_h_DSdSTWC01n9h4U7/s1600-h/IMG_7515%25255B1%25255D%25255B6%25255D.jpg "IMG_7515[1]")
![IMG_7644[1]](https://blogger.googleusercontent.com/img/b/R29vZ2xl/AVvXsEht3KV_u2nDCYKOWps9al2XLvtCRzA7T_XXwA7UWNFjiNhrTUsmoVKZZtmQjSpYS4K4Ea3mYOY3dXz7KuvBLUtuWik9a2Grp5hF3h2OEsONJQgLHDvkYCOuRYUseDWodIjRsNGF6NtA9ZUo/s1600-h/IMG_7644%25255B1%25255D%25255B7%25255D.jpg "IMG_7644[1]")
![IMG_7638[1]](https://blogger.googleusercontent.com/img/b/R29vZ2xl/AVvXsEg3LuSqRNxNqgJ-kEkO4_s-8FsTIsVu894-c9DE_3oZwPW7v1fegKAYL-imzpg_w1ccmCKGsIK4udgVBUA_I3whooy7wNpGvpk82FnGqoVUNFHRFdHIDpwj6DY2cy8olEbZ2S9TUZCej5hY/s1600-h/IMG_7638%25255B1%25255D%25255B6%25255D.jpg "IMG_7638[1]")
![IMG_7661[1]](https://blogger.googleusercontent.com/img/b/R29vZ2xl/AVvXsEjqAvIKXrbbBqbYUolNHI_eZS4wGSkjZjE9OjIPBdxElo2Mbae8jIe6eDofHLWT6itZG5GDlv7Cm-JR5jHt2BsN18QXOBXpYU6oZj2bC2xL3NVM8By-s6hIZ11Q88nzSo9hvFRmIWAU5OzH/s1600-h/IMG_7661%25255B1%25255D%25255B7%25255D.jpg "IMG_7661[1]")
![IMG_7668[1]](https://blogger.googleusercontent.com/img/b/R29vZ2xl/AVvXsEgkD6as5pgghjcD9Rlt7CD8fkrDttqG31V9wllCE-y1p77RtuW0Cf_fVElflam3qM2dH8qE5iyBXqmbyzESHy7WaRxJMIHUPeh4zk9nVkqQ2OjMU_xL-rmi2UiNoIZfzhKZ5YhE2-szpW0x/s1600-h/IMG_7668%25255B1%25255D%25255B6%25255D.jpg "IMG_7668[1]")
![IMG_7681[1]](https://blogger.googleusercontent.com/img/b/R29vZ2xl/AVvXsEiMG8ObJLL_6cYpnemlMoYGXQhyphenhyphenslO0UoKNQRPmcyQtEKqjvPPAoWIkmp-ZwNV9ZOEupiLoaKIvjIxHAjVreSeP1q_QCBat31Cv3wZXHNqhgRKOn9DrqLHAI0wGy64-ymBhuy6xJ24Z7yVt/s1600-h/IMG_7681%25255B1%25255D%25255B5%25255D.jpg "IMG_7681[1]")
![IMG_7682[1]](https://blogger.googleusercontent.com/img/b/R29vZ2xl/AVvXsEiBRPX5bZUXM-80Qi4U0sW_UhVy3JXsXjU0gljcellVHGJdKpeSnKO8kpEHw0-ONfPocoROVZLKbKWGJVWNVEIgXkAk7hKZuJylKetqDWC6diZblimAgZtvaPtxpjDEv2Bj0WhF5FQIoTM9/s1600-h/IMG_7682%25255B1%25255D%25255B5%25255D.jpg "IMG_7682[1]")
![IMG_8842[1]](https://blogger.googleusercontent.com/img/b/R29vZ2xl/AVvXsEgkmXHoIbLmcVbnigxJ8oeAqt1We-f4Ib184DfmrmwqjVt1VtugaQDzHjJ8qTbpR4h7pr7Y_YRSQM180wKAJhy9ghQHGZKE-44M0h-5KP7KsOPoTclRFBIDCiXMnQOivpdSAn0Ka5iDGkww/s1600-h/IMG_8842%25255B1%25255D%25255B5%25255D.jpg "IMG_8842[1]")
![IMG_8840[1]](https://blogger.googleusercontent.com/img/b/R29vZ2xl/AVvXsEiJ9S3StUB8G9uxD3mrXjni76WFthiObwfjkGsOVh7cLasMWua0vo2dOlhNQ4vaKb-KOBaErbKMDfwvO4GyggSu0n2uPPhuBy9DT6wvJGkj9wg5wddsvhobw7erjrqTy-WCW3p5LBUaBh6H/s1600-h/IMG_8840%25255B1%25255D%25255B7%25255D.jpg "IMG_8840[1]")